Golemancer Quest
This Chronicles quest is currently unavailable on heRO.
When it becomes available again, this notice will be removed.
Agent Adelaide from Schwartzvald has begun to recruit heroes to track down clues regarding the insane and dangerous Golemancer Kushiel. Complete her many tasks and help move one step closer to capturing this criminal.
Note: This is not a permanent quest, it was created for furthering the roleplay story, Mantle of Deceit. No prior knowledge of events are necessary to complete this, as all information needed will be given to you via clues or conversations throughout events of the quest.
| Golemancer Quest | |
|---|---|
| Requirements | |
|
Base Level: |
70 |
|
Party: |
Maybe |
|
Items (Consumed): |
None |
|
Zeny: |
None |
|
Quest Prerequisites: |
None |
| Rewards | |
|
Quest Rewards: |
|
Contents
Quest
Part 1
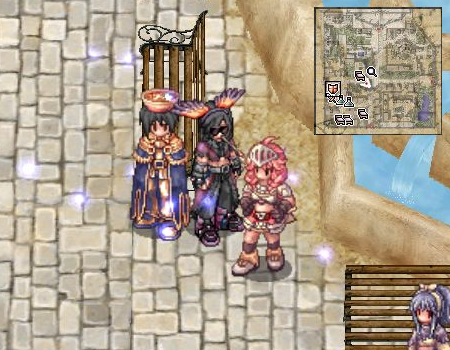
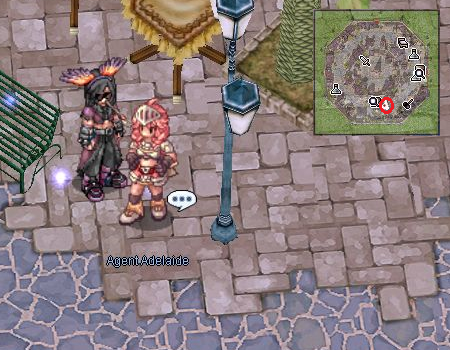
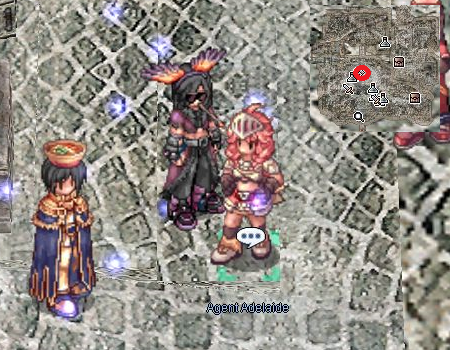
1. Speak with Secret Agent Adelaide at Rachel near the fountain in the center of town (124, 120). After saying yes to volunteer, the agent then provides you background information on The Golemancer and why he is a dangerous man. Tell her that you wish to assist her in tracking down Kushiel. Speak one more time with her to have her provide you with a task to check a canyon far west from Rachel.
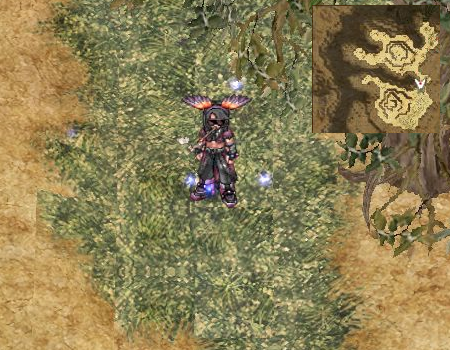
2. Head West to Rachel Field 10. Upon arriving, move near the middle right of the map (340, 156). A dialogue prompt box will pop up and you will then encounter a Gryphon.
Note: You cannot teleport on this map but can butterfly wing. You are not required to defeat the gryphon to move onto Step 3.
3. After retreating from or defeating the Gryphon, head further South, eventually another dialogue box pops up and informs you that you suspect further difficulties ahead.
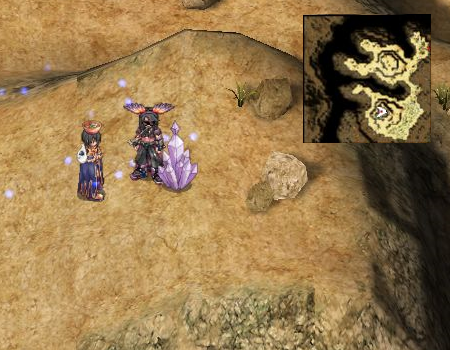
4. Find the crystal at the top of the Southern hill (249, 97). Once you approach it another prompt pops up to inform you to report your findings to Adelaide. But before you can begin the return trek to her, three Harpy will spawn nearby.
Note: You are not required to defeat the three Harpy to move onto Step 5.
5. Return to Adelaide. She informs you that the purple crystal you describe is similar to one used when he broke free from prison. For your assistance, you receive a reward based on your level one of the following:
- Old Purple Box x5 if your level is 89 or under.
- Old Green Box x2 if your level is 90-95
- Old Green Box x5 if your level is 96-99
Speak with her again when you are ready to continue.
Part 2
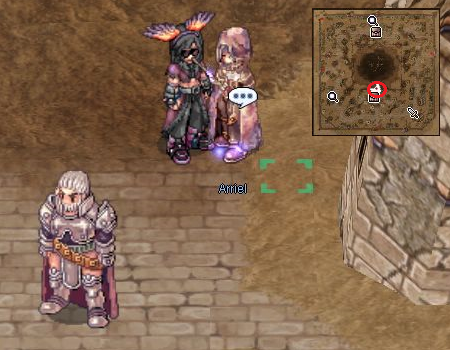
6. You're told next that Rekenber Company Workers in Thanatos Tower have had some Sword Guardians disappear from their location. Make your way to the tower and interview Arriel for more information. Arriel can be found near the front desk (tha_t01 156, 73) on the first floor. The wizard tells you to head south of Yuno to gather more clues.
7. Make your way to Yuno Field 04, which is directly South of the town and speak to the Yuno Guard(229, 208). He tells you he saw some tracks and confirmed they came from Rekenber Machines. The guard makes a request for you to search for the machines West of your current location.
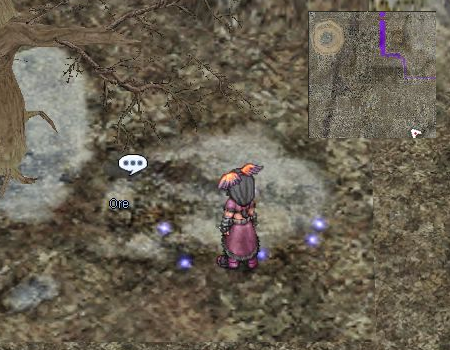
8. If you continue to head west you eventually reach Vitus's Tomb. You can arrive at this location either via Einbroch Field 02 or 04. Around the map are several ore spots. You only need to find one of them to continue to Step 9. A majority of the locations listed below can be found in the Southeast corner of the map.
Note: You may return to this map anytime throughout the quest or even after completion.
Ore Locations:
- 160,44
- 205,95
- 209,121
- 184,183
- 249,17
- 267,102
- 189,79
- 30,87
9. Return to Adelaide in Rachel again. She states she will send people out to stop The Golemancer from continuing to collect Ore. You are then rewarded with Bloody Branch x2. Speak with her again when you are ready to receive a new task.
Part 3
10. Adelaide ponders with you about how The Golemancer Kushiel passes the borders so easily as a wanted man. After further discussion, she asks you to speak with whoever is in charge at Fortu Luna (Rachel Field 06) for more information.
11. Once you arrive at Fortu Luna, speak to the guards near the Eastern edge and Southern edge. There are some at the northern edge, but they are not necessary to speak with to continue to step 12. You may speak to the guards at the Eastern and Southern regions in either order.
12. Return once again to Adelaide in Rachel after speaking to a guard at the Eastern and Southern zones of Fortu Luna. She will request you speak to the people at an airport owned by a Nobleman in Veins .
13. In Veins, find the Worker at the Northeast section of town (279, 284). You will ask to speak to the worker's boss as he tries to dodge you, but the supervisor will berate the worker and you will reluctantly be shown the way to their boss.
14. Speak to the Supervisor across from where you enter (273, 351). As you interrogate the man, another worker arrives on scene to state that Basu picked up an emergency shipment on an island South of Lighthalzen.
15. Once back outside, try to speak to Basu, but it will be noted that the man has disappeared at this point, and that you should return to Adelaide as soon as possible to inform her of this development.
16. After you tell Adelaide what you learned in Veins, she rewards you with Battleground Key x3 and if your base level is 85 or higher you also receive Rough Enriched Ore x1
Part 4
17. Speak to Adelaide again, she will tell you they have found the island where Kushiel's sympathizer picked up the golems. There is an old Rekenber Laboratory there. You will be tasked to find a functional computer if possible, to insert a drive to extract any data there, and to bring her any additional evidence you may find.
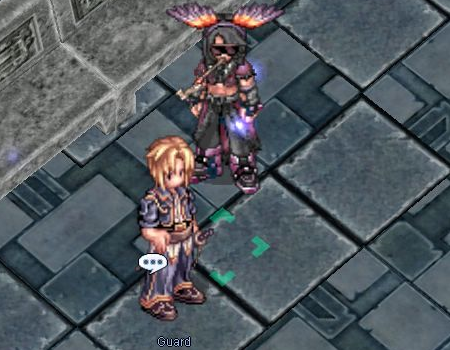
18. Head to the Lighthalzen Airport and speak to the guard inside (lhz_airport 140, 25) to fly to Kushiel's old lab.
Note: You cannot teleport while inside this dungeon, but can use butterfly wings.
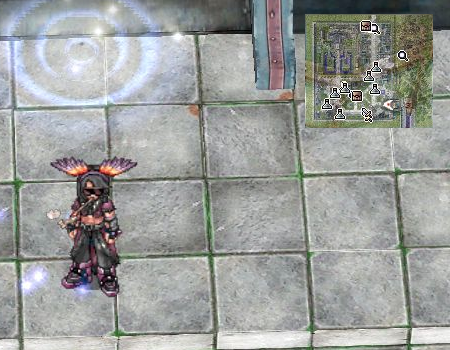
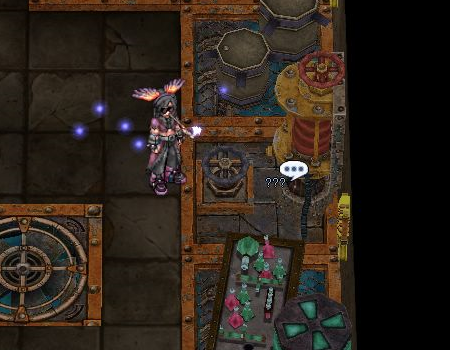
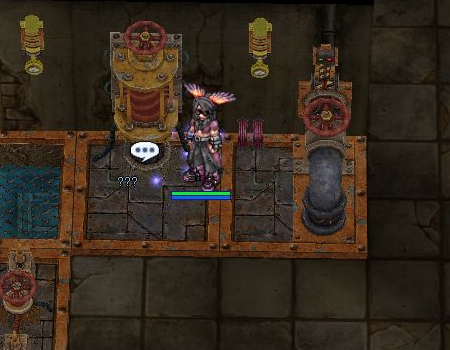
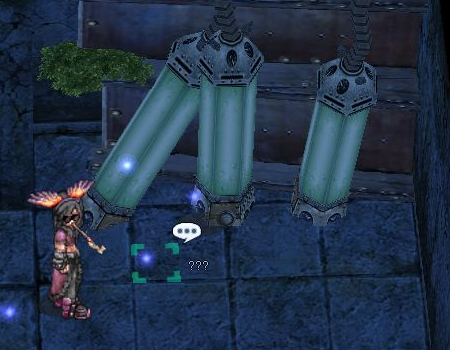
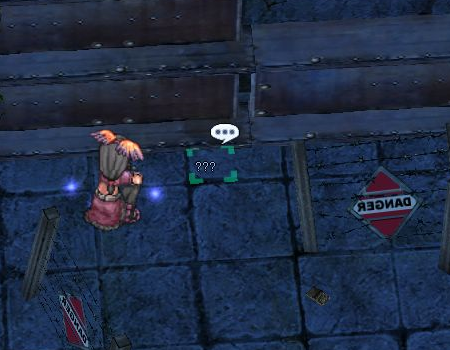
19. Inside the Labs, you will notice that there isn't a warp to proceed onward. To move forward, check the strange yellow machine near (53, 164) the lower right hand side of the map.
20. There will be several more of the same machines within the next room. Only three of them do anything. Check the machine near (33, 113) at the upper left. Once you do, be prepared to fight an Obsolete Golem. After being defeated, the entrance to the next section will open for 15 seconds. For reference, the golem you battle against has the same stats as an Apocalypse (Monster ID: 1365).
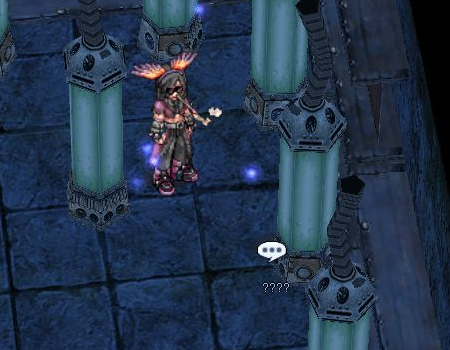
21. Warning!!! In the next section, you'll be in a zone where many of Kushiel's older golems still reside. You may run or fight the monsters within this zone. This step contains several parts, you must find all of this evidence to continue onward.
Note: If you log out while in the labs, you will return to your save point. You may return to this map anytime throughout the quest or even after completion. To return again, speak with the guard at the Lighthalzen Airport.
Crystal Tube:
Click on one of the tubes to find some crystal within at any of the locations below:
- 203,114
- 233,118
- 203,132
- 107,133
- 108,114
- 110,188
Picture of Friends:
Near the center of the map at 143, 143, you find on the shelf an old picture of Kushiel, Arriel, and some others you do not recognize.
Computer:
At the other side of the room where you found the picture, look near 173, 136. There is a tube that lets you insert the drive you received from Adelaide to extract information from the machine.
Optional:
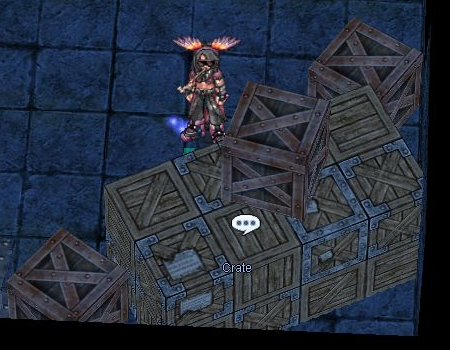
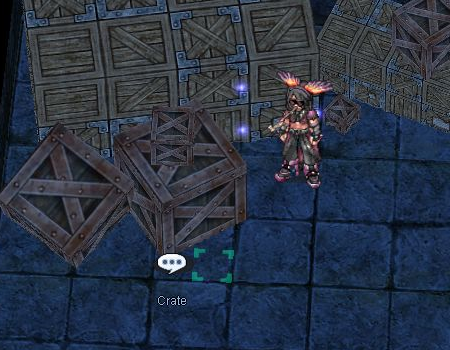
There are two crates you can investigate to receive an item. At the first coordinates, 100, 192 (eastern side of the map), search to find either Elunium or Oridecon. At the second, 211,172 (northern side of the map), search to find a "level 4 weapon stone" from Item ID's 7289-7297.
22. Since you have obtained all the evidence, return to Adelaide in Rachel who rewards you with a Job Manual x1 and a Field Manual x1.
Part 5
23. When you speak to Adelaide again she informs you that Rune-Midgard authorities are being sent to raid Glast Heim to destroy Kushiel's golems, and that she will leave for Geffen. You must find her within a 5 minute period at Geffen near where you first warp in (136, 56). If you do not find her in this short time frame, when you speak to her next, Adelaide has you wait 30 minutes before telling you your next task.
24. After some dialogue from Adelaide your next task involves you speaking to Arriel again who has moved to Morroc to speak with you about a woman named Amaria.
25. Make your way to Morroc, you can find Arriel near Chief Balrog at the center of town. Arriel will give you information about his past, it is recommended you remember what he tells you for the next step!
26. Return to Adelaide who now is at the Chilvary at the Northwest corner of Prontera (Near Prontera 48, 343). Go inside to find Adelaide (prt_in 75, 103). She will ask you several questions about your interrogation with Arriel. Respond with the following to move onward.
- "He didn't talk much about Amaria."
- "He is twisted and will stop at nothing..."
- "The real one wouldn't help commit crimes..."
Adelaide then rewards you with Event Bag x1, and if your level is 85 or higher, you also receive LV5 Assumptio Scroll x5
Part 6
27. When ready to accept the next task, look for Adelaide in Yuno near the Warper Sister (Yuno 139, 172). You learn that Kushiel was experimenting with Ymir's Heart Fragment and something called Dreamstone. She will request that you go to speak with Queen Pixie since she has knowledge of Dreamstone, and that Kushiel worked for her by providing her golems for their defenses.
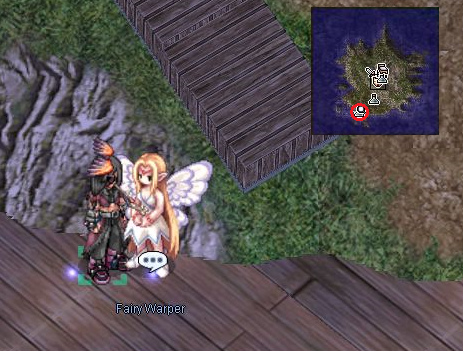
28. An escort awaits you at Moscvia's docks (moscovia 156, 73) to take you to Fairy Land. If you already have Fairy Land, you can warp there via any Warper Boy instead.
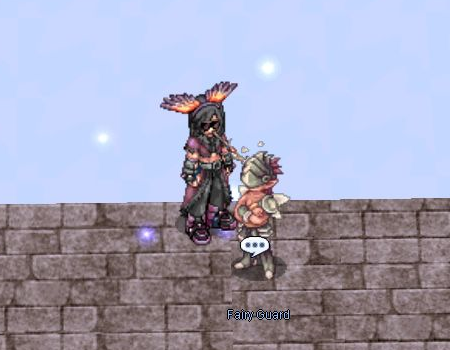
29. Look for the Fairy Guard at the Northern section of Fairy Land (Askydun 90, 148). He will take you to Faeheim Castle when you are ready.
30. The guard warps you to outside the palace. There is a trek you must make to see Queen Pixie. To reach the castle, walk South away from the first Fairy Guard you see when you first warped inside. It is pretty much a one way path to the castle from here. It is also your choice to either ignore or fight any monsters you see on your way there.
Note: If you log out while here, you will return to your save point. You may return to this map anytime throughout the quest or even after completion by talking to the Fairy Guard again. You cannot teleport while inside this dungeon, but can use butterfly wings.
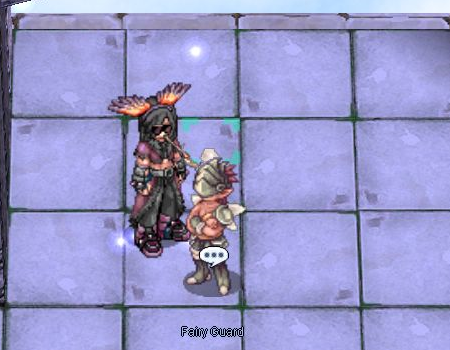
31. When you reach the end of the path, you will find another Fairy Guard (que_qaru01 345, 88). He will escort you inside to Faeheim Palace.
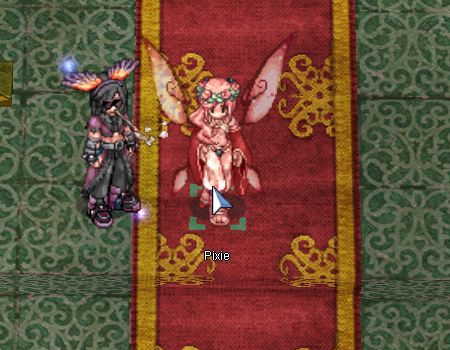
32. Inside, head North to reach Pixie (143, 91). To converse with her, you must press shift and then click her.
33. You then are given options to inquire about Dreamstones, Kushiel, and Amaria. Select each in any order at least once to proceed and receive the final option, "That is everything I need." Select it to go to the next step.
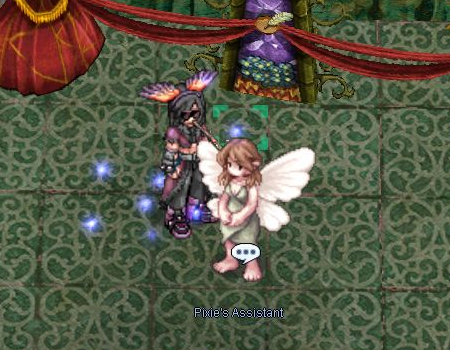
34. After some more exposition, Queen Pixie states that Kushiel left some of his work on Dreamstones at a floating island outside the city. She comes with you along and brings a bodyguard to look for further clues on his work. A chance is given before you proceed to the next step to speak with Pixie's Assistant to heal you and/or access storage (152, 96).
35. Warning!!! When you continue forward with Pixie, you have hour to accomplish your task to defeat the Dreamstone Crystals inside. Pixie and a Faerie Body Guard will follow you around and assist you in fighting the monsters inside. A barrier also protects each Dreamstone which must be broken first. Only when the barrier in front of the Dreamstone is defeated can you then target the Crystal. Each time you defeat a Crystal, it will notify how many you have destroyed. Once you defeat 7 Crystals the instance will be over and you return to Faeheim Palace.
Note: You can lose the Body Guard and still continue the mission. If Pixie or you are knocked out, the instance ends immediately and Pixie will need 30 minutes to recuperate before you can try again.
Barrier Locations:
- 192, 44
- 156, 162
- 248 136
- 249, 68
- 208, 50
- 326, 103
- 202 16
36. Pixie will request you take the shattered crystals obtained within the old storage facility to the authorities. Take them to Adelaide who is still at Yuno.
37. Once you return to Adelaide in Yuno, she rewards you with HP Increase Potion (Large) x5 and SP Increase Potion (Large) x5.
Part 7
38. Speak with Adelaide again, who explains that Kushiel is using the Dreamstone to enhance magical energies. They do not know specifically what he will do with it, but the agent one final task for you. Pixie, Arriel and Adelaide will join you and let you speak in the cell that Amaria is currently detained. When you are ready, speak once more to Adelaide to be escorted to another instance. You will have 40 minutes to complete this interrogation once inside.
Note: If you fail this instance, you must wait 20 minutes before you can retry the interrogation.
39. Inside Amaria's prison cell wait a few moments before the interrogation begins. You will be given several chances to make choices for how to respond to the conversation at hand. Below are a few variants for the order of answers you must give to proceed to the final step.
- Ask Why.
- Ask about the innocent people.
- Remind Amaria Kushiel abandoned her.
- Ask about the golems.
- Let someone else talk.
-OR-
- Ask Why.
- Ask about the innocent people.
- Talk about the Light Goddess.
- Let someone else talk.
- Stay quiet.
Note: If you are interested in learning a bit more about Arriel, Pixie, and Amaria's backstory, you may want to try other options and purposefully fail the mission. However, forcing a failure does cause you to need to wait 20 minutes before trying again.
40. With the interrogation complete, speak with Adelaide in Yuno one final time. She informs you that if you join her to fight Kushiel, it may be one of the most dangerous battles you face. If that won’t deter you, she asks that you keep your eyes out for a recruitment post from The Midgard Times. This post will be found on the heRO Forums!
You will then receive your final rewards consisting of the following:
- Light Potion Box x2
- Light Blue Potion x100
- Delicious Candy x5
- Old Card Album x1
And if you are level 99:
- Hatter Voucher x1
Spawns
Einbroch Field (vitus_01)
Geographer - 35 (5 sec)
Obsidian - 10 (5 sec)
Mineral - 10 (5 sec)
Porcellio - 10 (5 sec)
Ungoliant - 2 (30 min)
Knight Guardian - 2 (5 min)
Kushiel's Laboratory
Obsolete Stone Golem - 5 (5 sec)
Obsolete Bronze Golem - 5 (5 sec)
Obsolete Cobalt Golem - 5 (5 sec)
Imperfect Dreamstone - 1 (30 sec)
Dreamstone Golem Prototype - 1 (15 Minutes)
Fairyland Palace
Creamy - 7 (5 sec)
Garden Keeper - 8 (5 sec)
Golden Ladybug - 10 (5 sec)
Wind Spirit - 5 (35 sec)
Stainer - 3 (5 sec)
Tree Turtle - 5 (5 sec)
Geographer - 8 (15 sec)
Flower - 12 (15 sec)
Uninhabited Sky Island
Enchanted Peach Tree - 10
Old Wooden Golem - 5
Cendrawasih - 2
Creamy Fear - 10
Breeze - 5
Gryphon - 1
Stone Golem - 8
Cobalt Golem - 9
